Home
FAQ
Membership
Login
Register
Contact us
Image gallery for:
Copic markers diy tips tricks techniques tutorials lessons and examples
Advertisement
The Complete Beginner’s Guide to Copic Markers
Copic
Getting Started with Copic Markers: A Beginner's Guide
Paper Crafts
My DIY Copic Color wheel book
Alcohol Markers
How to Clean and Maintain Your Copic Markers
Copics, coloring
Advertisement
Copic Marker Tutorial: Easy, Inexpensive, & Safe Marker Cleaning
Coloring
Copic Colouring Christmas Baubles w/ step by step and video
art
Copic Marker Secrets that Self-Taught Colorers Never Hear
Art - Tutes, Tools, Materials, Etc.
Copic Marker Video Tutorial - Blending 3 Copic Markers
Lawn Fawn
5 Beginner Copic Marker Mistakes (and how to fix them
Projects to try
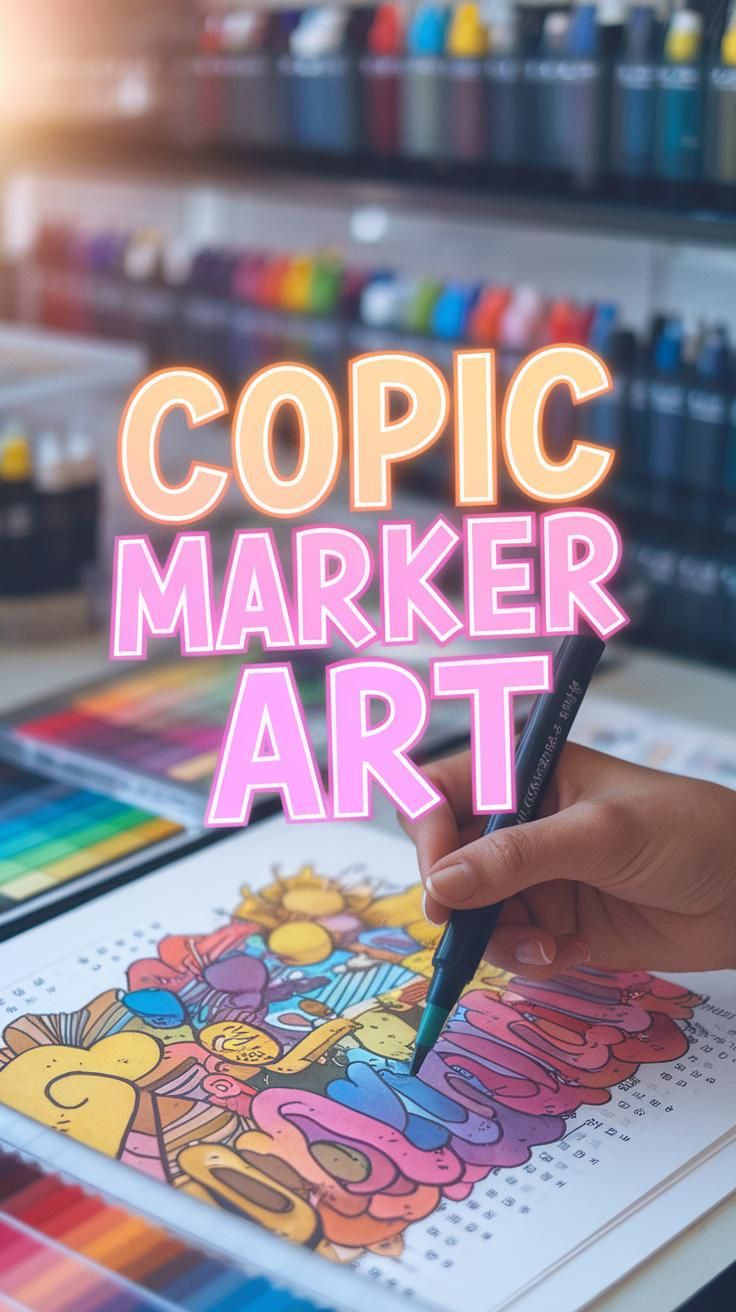
Unlock Your Creativity with Vibrant Marker Art Techniques
Copic markers tutorial
Copic Marker Skin Coloring Demo
Quick Saves
Advertisement
Advertisement
Advertisement
Copic Color System
copics ideas
Inspiration: 23+ Copic Beginner tutorials
copic markers
Copic / Marker Coloring and Lining Tutorial
copic markers
Copic Marker Tutorial
Copic markers
Tips to help stop Copic marker bleeding (advanced cards but beginner tips!)
Strictly copics
Adding Depth to your Copic Marker Coloring Video Tutorial for MFT
COPICS