

In an unprecedented act of blogging fanciness I decided to make a video documenting how I create the woodgrain texture (so thoroughly p...

Finished your quilt top and ready to quilt? Continue reading for 10 quilting designs for beginners perfect for your first quilt!

When we moved into our new home, the highest priority for me was getting my quilting studio up and running since quilting is my full-time job. I’ve had many people asking me how I built my de…

The best way to get perfect quilting is to transfer quilting designs onto the quilt top before stitching. Continue reading to see how!

Double Pinwheel & Peeping Cats Quilt Blocks. Free Pattern and Tutorial

I'm teaching a Free Motion Quilting class starting in April at my LQS, Heartstrings and Heirlooms. I finished up the class sample over the weekend. In the class the students will do larger samples, but I needed a small book of designs to advertise the class. As you can see in the above end view, I used three different types of batting for my sample book - Quilter's Dream 100% Cotton, Hobbs 80/20 (80% cotton and 20% polyester), and a 100% wool. I used a tutorial from a recent Quilting Arts Magazine issue (the February/March 2014 issue) to make my little book. The instructions involved drawing some lines on a piece of fabric, then sewing on the lines with a walking foot to make a larger sheet and baste the layers together. Then you quilt your designs and cut the "pages" apart. The tutorial in the magazine was very good. If you are interested in making a book like mine, I suggest you get a copy of the magazine. Below is a collage of designs I plan to cover in the class. Along the top of each page I wrote the name of the design, the batting type and page number from the book I will be using for the class. In case you are interested, I'm using the book Free Motion Quilting with Angela Waters. It has become my go-to book for quilting ideas as of late.

Are you new to machine quilting? You may have made tied quilts for a while and now want to explore machine quilting. I’ve seen a lot of advice given for how to machine quilt but I think mos…

Earlier this summer, the Happy Zombie posted a quilt-along called the Ron Swanson Along. I don’t watch much TV and haven’t seen Parks & Recreation, but I still thought her quilt was…

I've had the chance to review the book Free Motion Quilting for Beginners (and those who think they can't), by Molly Hanson. I love that title! I'm a big proponent of quilting your own quilts, as you know, and I've read a lot of books about free motion quilting. I like how everyone presents the information in their own personal way....there is always more to learn! This book presents all the practical information you need to get started. More importantly, it gives you the confidence to jump in and give free motion quilting a try. There are 15 projects in the book that encourage you to start small and increase your comfort level with free motion quilting before you tackle something larger, like a quilt. What I love most about this book is Molly's tone of encouragement throughout the text and the projects. She is great at guiding you though the entire process! I've done a lot of free motion quilting and I love how relaxing it can be. I also know how easy it can be to get in a rut. I challenged myself to get out of my box, so to speak and try some new-to-me, designs. I gave this squared off stippling pattern a try and it went pretty well! I had to slow down and think about where I was going from time to time, but it was fun! I could see doing this all over a whole quilt. I also quilted a few swatches of different designs and I turned them into a set of coasters. Binding them was a little fiddly, but totally worth it! (I can say that now that they are done. Ha!) These are great because I not only used scraps of fabric, but scraps of batting as well. Hurray! I'm happy to count these as scrap project #94/101. If you would like the chance to win an e-book copy of Free Motion Quilting for Beginners, please leave me a comment in this post. In your comment, I'd love to hear what your favorite go-to FMQ pattern is. Or, if you are new to FMQ, I'd like to hear what pattern you would like to master. I will pick winner in a few days!

Day Two of our Free Motion Quilting Series shows how to practice Waves.

Binding is the final step of quilting and it must be perfect. Otherwise, all your efforts will be wasted!

It's finally here! The video showing you how I do big stitch quilting - a super easy and fun hand quilting technique! Big stitch quilting is my new favorite way to hand quilt - I'm not sure I'll ever go back to traditional hand quilting. It's just so much fun! I love the chunkiness of the

Check out these quick and versatile walking foot quilting designs that even beginner quilters can master! The walking foot is a powerful attachment for your domestic sewing machine that make it possible for you to beautifully quilt your own modern quilts!

How to Design a Simple Art Quilt. Create an image and make it into an Art Quilt. Fabric scrap and fusible web will make it simple and quick

Burst Block PDF Skateboard Appliqué PDF Pentagon Ball PDF BBQ Apron PDF Guitar/Camera Strap PDF Free Motion Basics PDF Action Figure Organizer PDF Sugar Skull PDF Needle Knowldge PDF Out of This World PDF 3 Dudes Quilt PDF Diamond Dreams PDF Bad Call Ball PDF Dog Bed PDF FMQ Straight Drill 2 PDF 60 Degree Ruler PDF FMQ Swoop Drill 3 PDF RAINBOW DRILL PDF Circle Drill PDF Coming Home PDF Superhero Cape PDF Drawstring Bag Toy Playmat PDF Beach Bag PDF Dancing Dots PDF Fabric Postcard PDF Gears Quilt PDF Trick or Treat Bag PDF Turkey Centerpiece PDF Coffee Kit PDF QuillowRead More →

Hand quilting is the technique of sewing together the three layers of a quilt (batting between two layers of fabric) in a decorative freehand stitch.
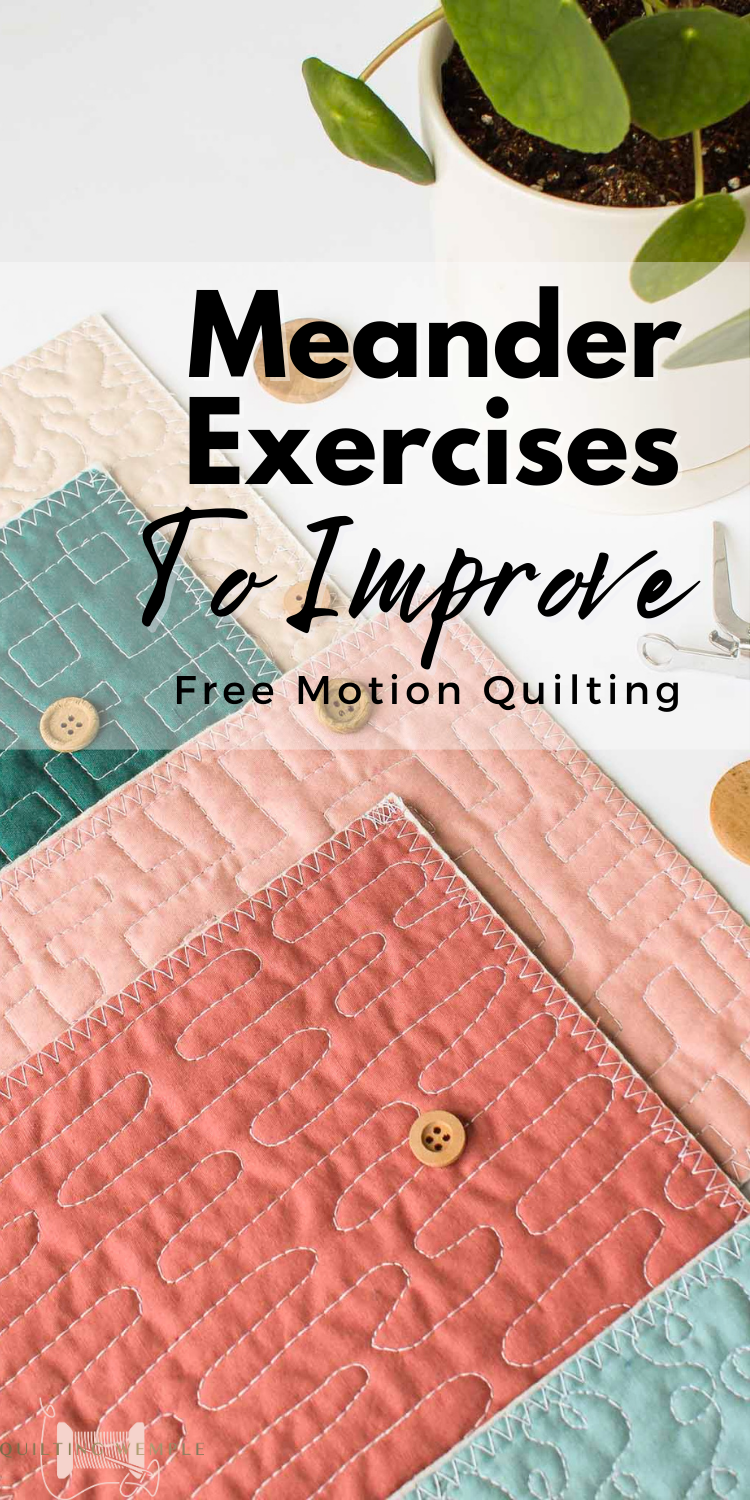
Continue reading for 5 meander practice exercises that will help you learn to put FMQ skills on autopilot so you can focus more on quilting.

13+Free Quilt Patterns to tickle your quilting fantasies! You can snag these 13 FREE modern Quilting Patterns TODAY and be sewing before you know it!

No longer are you stuck with boring simple baby quilt kits. Continue reading for 10 modern patchwork quilts you can start this weekend!

This quilt tying tutorial shows how to tie a quilt with yarn or embroidery thread. Quilt ties is an easy and fast way to finish a quilt.

The Grow quilt pattern focuses on strip piecing – a quilting technique that creates a modern design. Included are sewing tips and color variations!

When making a quilt label, is it appropriate to include the name of the person who designed the pattern? And is it necessary to contact the designer of…

I have to be honest, I had always looked at beautifully hand-quilted quilts and thought, “Well, that’s just crazy.” Although I loved the look feel and texture that hand quilting added to a project, I never saw myself doing such intricate work. The funny thing is, I love hand embroidery. Ah, the slow pace, the relaxation of having a project to work on at all times (I always have a hand embroidery project in my purse); and the satisfaction of finishing something that only required a simple needle and thread. I don’t know why it took my so long to realize that hand quilting is just one big hand embroidery project and usually using just one stitch, the running stitch! Hand quilting, especially in the modern quilting movement, has made a big resurgence in the last few years. Many quilters have discovered the beauty and added texture this simple stitch can add to a project. My personal favorite is big stitch quilting. This isn’t the hand quilting you would see on a traditional Hawaiian quilt or a hand quilted whole cloth quilt. Those quilts are normally done with a thinner thread and very small stitches so the quilted pattern shows through, not the thread. This style also takes exponentially longer to finish. With big stitch quilting, the thread really is the star, and that is why I like to do my big stitch quilting with Sulky 12 wt. Cotton Threads. Sulky 12 wt. Cotton is equal to about 2 strands of embroidery floss, so it will stand out nicely on the project, and the colors are luscious! Whether I am just doing several lines of big stitch quilting on some white fabric, Or quilting a pieced quilt top, This thread really changes an ordinary project into an extraordinary piece. The beauty of this is I am just doing a standard running stitch! Are you looking to try something new? Then join me in the Slow Stitch Movement. Check out all of Sulky’s 12 Wt. Cotton thread here and let’s start stitching! Happy Sewing.

A couple of years ago I stumbled across this awesome book at my local public library. It was filled with simple fun baby gift ideas. Today I couldn't tell you the title of that book. I did end up purchasing a copy during a library sale fundraiser but haven't a clue where that book is now. Hopefully I will now be able to find the book!! I'm also certain it is storage with the rest of my crafting books. But that's off topic. Every time someone I know is pregnant or has a baby, I make the same baby quilt. The one I found in that book. It is super simple to make, uses limited fabrics and comes together quickly. Wanna know how to make this wonderfully easy gift? You're in luck! One of my co-workers down the hall just had a little boy with his wife and I just haven't had time to make their gift until now! You only need three fabrics to make this little quilt. It is a great early tummy time quilt. You'll need the following cuts of three fabrics for the quilt top: Fabric #1 and #2: 1/3 to 1/2 yard (depending on direction of print) Fabric #3: 2/3 to 3/4 yard The final front will look like this diagram: You will also need an additional 1 1/2 yards of one of the fabrics for backing. To create this quit top: Cut 14 5.5" by 5.5" squares from both Fabric #1 and Fabric #2 Cut 8 10.5" by 10.5" squares from Fabric #3. Pair up Fabric #1 and #2 and sew together with a 1/4" seam to create 14 total rectangles. Be sure to press each to the same fabric on all. To pair them up, I just sit each stack of blocks next to my machine and stitch away. I also do not snip the threads between each rectangle until I sew all 14 rectangles. Chain sewing like this creates a steady flow and also speeds things up. Take your 14 rectangles and match them up as show in the above diagram. Your seams should be pressed opposite of each other and butt up precisely. Sew these all together using chain sewing using 1/4" seam. You will end up with a total of 7 blocks. You will now take the Fabric #3 and match it up with the created blocks of Fabric #1 and #2. I generally pin a pairing of five to chain stitch these. Finally I add in my third block to each row to do a final round of chain stitching to finish the rows. After all of the rows are sewn, sew each row together. Do pay attention to the direction of your print and placement. You should end up with this: (Ignore the other quilt! I was too lazy to take it down before I took this picture!) For this quilt since the fabrics are so busy and I enjoyed the straight stitching so much with the last one, I did it again using my secret weapon: painter's tape! (Thank goodness for the Dollar Tree and $1 tape!) I have still binding to add but that's a post for another day! How's your sewing going? Love, Ashley

Melody Crust talks on her blog about the importance of selecting the right quilting pattern to make the most impact on your quilt top. Calling straight line quilting elegant, click HERE to learn mo…

Two Christmases ago hubby bought me Quilt Design Wizard from the same people who give you EQ. Now, I love this software. It's cool that you can put in prints as well as solids, and choose from blocks to set up quilts. There are many quilt blocks in the program to play with and I actually used it to come up with my plan for my Diamond Chains Quilt Along. I have even recently played around with it for setups for my Carpenter Wheels (when I finally finish them!). Well, I just found out that hubby's aunt, who already has me making two quilts for her grandbabies, wants me to make a quilt for her other daughter as well. Keri is a large animal vet in Saskatchewan so when I asked what she might want on her quilt she said, "Australian Shepherds and horses". Um, okay. I did a little researching but I'm having trouble finding fabric with Australian Shepherds on it. So I wondered about paper piecing a dog. That set me to searching for instructions because I have no idea where to even begin creating a paper piecing pattern. I found something better. A program! Have any of you heard of Quilting Assistant? I had not but came across it while looking online. It is free so I downloaded the program and started playing around with it. I will say this; read the manual! It is not difficult but I needed a little walk through to help me understand how it worked. I started with a picture of one of Keri's own dogs. I was able to change it from this... To this! I actually could have muted the colors all the way down to just basic colors instead of "picture" colors more as well. Now, I will say, it prints out all the pieces and you have to put them back together. I'm still trying to figure out if you can print it out as is. Not sure about that yet. After reading the directions I figured out that I could finally put my own block designs in this program. Remember X Marks the Spot? I was so excited because one of the reasons I never did a quilt along for this block was because I couldn't figure out how to draw it out except on graph paper. Now I can even play with the layout and design. This was my original quilt design. But after playing with the program, how cool would this one be? Or this one? Or this one? I changed the colors just to play a bit. I'm very excited about having another option for quilt planning. Just thought I'd share. Check it out!

Straight line quilting is a great beginner quilting technique, but there's a right way and a wrong way. Continue reading to see if you are doing it right!

I don't know if I've told you before, but I learned how to quilt while I lived in Japan in 2002. Japanese housewife culture, including their approach to quilting, has always fascenated me. I should have been an anthropologist and studied that more intensely, I know, but I got caught up in trying to communicate and became an ESL teacher instead. Anyway.. I discovered flickr in 2006 and the quilts I saw there lead me to start blogging about quilting. Tonight I want to share a handful of my favorite quilt photos from the Tokyo International Quilt festivals held each year in January. One year I'll make it there myself, but until then, I will live vicariously through Jennifer and Jan. Be*mused Tokyo Quilt Fest 2011 Set Be*mused Tokyo Quilt Fest 2010 Set Be*mused Tokyo Quilt Fest 2009 Set Movinghands Tokyo Quilt Fest 2008 Set Movinghands Tokyo Quilt Fest 2007 Set Movinghands Tokyo Quilt Fest 2006 Set (one of my all-time favorites is the 9th quilt in the set-- the blue one) All photos in this post were taken by Jan of Be*mused, used with permission. (*I hate to post quilt photos without information about the makers, but sadly most of these pics don't include any. Apparently the quilter info is only printed in Japanese at the show. If you have any information for any of these quilts, please comment and I will give them proper credit.)

Get started with this beginner's guide to crumb quilting. Explore the materials, techniques, and tips for completing a beautiful quilt!

I had promised my friend Amber a basket for do-dads on her changing table and finally got around to it this weekend. (Baby Liam is almost 2 month old...yikes!) And , here it is with my new baby, a garage sale find, works great... can you see me smiling? Also, I had quilted a signature into the Stars and Moon quilt... Have a great week!

Think about you, quilting. Pair that image with your wildest, most wouldn’t-it-be-amazing dream. What does your marvel of a quilting experience look like? For astronaut Karen Nyberg, her quilting adventure was a literal out-of-this world event: making a quilt block in orbit, on the International Space Station. Wow! Inspiration doesn’t come on a scale much …

52 of my favorite modern quilts from QuiltCon 2024.

Top US quilting blogger, Seams Like a Dream Quilt Designs, features all the info you need to know about the 9 Patch Block. Click here now!!

How To Make A Puff Quilt The Easy Way ~Bubble Quilt ~ Puffer Quilt. Free sewing Tutorial

To go with the video tutorial I've put together a cheat sheet. It details my method of making pinwheels along with a handy reference chart with the quilt math to make pinwheels in all sorts of sizes. You can download a PDF version of the cheat sheet by clicking here. You can also 'Pin" the

Explore the many free jelly roll quilt patterns as well as other jelly roll projects. These fun precuts reduce cutting and speed up sewing!
