

The best way to get perfect quilting is to transfer quilting designs onto the quilt top before stitching. Continue reading to see how!

I am delighted to have Patsy Thompson as our December FMQ Expert, for the 2012 Free Motion Quilting Challenge. Whe...

I think we can all agree that as quilters we have this deeply implanted love of creating and being creative, and that creativity doesn’t just stop at piecing a quilt top. Doing the actu…

These are samples of free motion quilt patterns that can be used in an all over design over the entire surface of a quilt. TAlso the patterns can be combined and used on individual blocks within a quilt. These samples also illustrate the effect of various fabric and thread color combinations

As you know Karen Azevedo is doing a traditional boutis for our challenge and I am doing the same chosen pattern on a vintage linen but I'm doing it free motion quilting. I love to do wholecloth miniatures so thought this was the perfect opportunity to do another one. I chose a beautiful drawn-thread work linen and tr

I think we can all agree that as quilters we have this deeply implanted love of creating and being creative, and that creativity doesn’t just stop at piecing a quilt top. Doing the actu…

Free Motion Quilting Fun - lots of fun designs to quilt- great free motion quilting practice!

Free quilt design - free motion quilting feathers.

I sure hope you have learned a thing or two along the way with this series. If you just joined us, start from the beginning.

In an unprecedented act of blogging fanciness I decided to make a video documenting how I create the woodgrain texture (so thoroughly p...

I am thrilled to have Sarah Vedeler as our November FMQ Expert, for the 2012 Free Motion Quilting Challenge, and deli...

Deborah Louie sets herself apart in the quilting world by taking advantage of all of those stitches on your sewing machine.

Here are all the photos from the Free Motion Quilting Project published so far!

Landscape quilts are some of my favorite quilts to make. Simple, flowing lines are easy to applique, the sky is...

Time to quilt! It seems like my weekends are becoming more and more packed with fun activities with James and...

I was thinking about what I can do to help all the beginners who are just taking up free-motion quilting right now. I decided to share a ...

Here are a few more designs... Some are a year old and others fairly new. It's always FUN to see what is in the Sketch Book! Maybe they will inspire you to stitch one of them into your next machine quilting project: I like to draw out wavy lines... then draw different textures in each wavy section. The designs can be used as background fillers or stitched into most any place on your quilt. Sometimes a simple design.....is the most effective. Falling Leaves Wandering Vine Vines are always a favorite of mine! Another great background filler. Swirls 'n Flames This can be done any any scale... from very tiny to very large. This fills an area very quickly! Textures String Beads When stitching this out... Draw straight chalk lines parallel to one another. Then stitch along the chalk line adding circles as you go. Then add designs between the lines of circles. When you see 55mph on my sketch book pages, it means I was drawing as we drove along in the car. When inspiration strikes....you just gotta draw it out! CLICK HERE to view my online sketch book CLICK HERE to view my free motion quilting CLICK HERE: to see My Quilts May Your Bobbin Always Be Full, LuAnn Kessi

I love to do free-motion quilting. For me it's the best part of the whole quilt process. I think if I had the space and money for a long-arm -----. Since I don't, I make do with my Bernina 440. This machine has the stitch regulator, which works wonderful giving nice even stitches. A while ago, I came across an article in The Quilt Life magazine that had a demo by Judy Woolworth for making free-motion flowers (shown below.) I fell in love. I had to learn how to make these. Judy's were made using a long-arm. I wanted to make a simpler version of them on my home machine. This is the process I use. Please note that the motifs shown below were drawn free-hand so they are not precise. In reality, when done free-motion on the machine, they are a lot neater. Also, my drawings are not cast in stone. They're to give an idea of what the motif looks like. It also helps to practice drawing the motifs on paper until the movements are very familiar. The first time, I practiced on a pot-holder size fabric readied for quilting (fabric, batting, and backing pinned together. I started at one end and stitched a flower shape motif in the center of the space. A nice thing about this practice is that you can make mistakes. A flower is not precise. The next step builds the inside flower shapes. Just continue stitching around with curving lines going into the center. Once you are at the center, you have to come back out. This is shown below.Just start retracing your outline about one eighth inch next to the original. Closer is good, but try not to go over the original line. This is what it will look like when you are done. Did you notice the little heart shape. This takes you into the step that comples the flower. Notice that I enlarged the petal shape on the outside petals. This makes them look more like a flower. Now that the flower is done, something needs to be added to the rest of the block. I use circles and hearts. They are fast and fun. Here is a sample of a square that is part of a current project. Below is a sample of a square that is part of a completed quilt. Not the best photo, but it is one where the quilted flowers were used. The completed quilt.

This the latest experiment, done on a fat quarter sized piece of fabric. I wasn't sure what I was going to try this week. I had a notio...

I'm teaching a Free Motion Quilting class starting in April at my LQS, Heartstrings and Heirlooms. I finished up the class sample over the weekend. In the class the students will do larger samples, but I needed a small book of designs to advertise the class. As you can see in the above end view, I used three different types of batting for my sample book - Quilter's Dream 100% Cotton, Hobbs 80/20 (80% cotton and 20% polyester), and a 100% wool. I used a tutorial from a recent Quilting Arts Magazine issue (the February/March 2014 issue) to make my little book. The instructions involved drawing some lines on a piece of fabric, then sewing on the lines with a walking foot to make a larger sheet and baste the layers together. Then you quilt your designs and cut the "pages" apart. The tutorial in the magazine was very good. If you are interested in making a book like mine, I suggest you get a copy of the magazine. Below is a collage of designs I plan to cover in the class. Along the top of each page I wrote the name of the design, the batting type and page number from the book I will be using for the class. In case you are interested, I'm using the book Free Motion Quilting with Angela Waters. It has become my go-to book for quilting ideas as of late.

I am thrilled to have Teri Lucas as our October FMQ Expert, for the 2012 Free Motion Quilting Challenge and delighted t...

Free-motion quilting design ideas with tutorial for each design. Try out different free-motion quilting designs to make your quilt unique!

I have been exploring the 3 FMQ modes (Spring freemotion, Sensormatic freemotion and Dynamic spring foot 6D) of the machine. As you may have read, I had run into some difficulties. Apologies to non-Pfaff owners, as this will probably bore you to tears. However, there is very little around on the net about this and the manual is of no great help on this issue, so I thought this might be of use. Springloaded foot Open Sensormatic foot Dynamic 6D foot My Springloaded foot as well as the open Sensormatic FMQ foot were giving me trouble on the new machine. I had the machine since January and have been mainly using the new Dynamic 6D foot for FMQ which is fantastic. I have quilted two quilts with that and experienced no problems whatsoever. As this came as a bit of a surprise, I booked myself into a session at my local sewing shop. When I rang, the owner asked whether I had kept my sample of trying these modes...of course, I had not. So, I sat down one evening and produced another sample, this time going methodically through the FMQ modes of the machine. This was interesting as the owner of the shop had already hinted that the opening of the open toe feet might be the issue. Sample stitched with Aurifil 50/2 using a Microtex Sharp 70/10 From left to right: The Springloaded foot did not perform, even when I changed the pivot setting gradually down to -5 to hold the fabric in place. Had skipped stitches and thread breakage. Then did the closed Sensormatic foot (pivot height setting 0)... worked absolutely fine. Next came the open Sensormatic foot...did not work at all on a pivot of 0, but worked well on a pivot setting of -3. Did the Springloaded foot again on the Spring FMQ mode...this time at the slowest speed possible and pivot of -5. Worked ok, but there was the occasional skipped stitch. Very different to how this foot had performed on the previous Pfaff 4.0. Close up of Springloaded foot at pivot -5 Then got carried away again with the Dynamic 6D spring foot, which of course, was fine. Back to the open Sensormatic foot on a pivot of -3...again (not shown), no hassles. Changed over one more time to the closed Sensormatic foot on a pivot of 0 and this continued to produce a good result. This was a most valuable exercise... When at the shop, the technician confirmed that the openness of the Springloaded foot was the most likely cause of the problem, not holding the fabric down well enough with each stitch to catch the thread underneath. We talked about batting as my sample was stitched on a fairly thin batting (mixture of polyester and cotton, I believe). He also suggested to use the Dynamic spring foot 6D mode for this open foot...I did, and the problem of skipping stitches and thread breakage disappeared at the shop...mind you, there I used a sample of wool batting. So, in order to use the Springloaded foot in the Spring foot freemotion setting I will have to reduce the pivot height to -5 and go very, very slow, or use the Dynamic spring foot 6D mode with that foot. Hope this made sense. Linking up to Let's Bee Social at Sew Fresh Quilts Karin

It's the last week of free motion quilting grid-based designs and I'm adding clamshells to my quilting sampler. Using a marked grid makes this design so much easier and uniform. Each clamshell is made by one curved line. The top part of the shape is made from the two clamshells above it. The line of stitching is a semi-circle going across two squares. essentially, four squares of the grid mark one entire clamshell shape. Here's a video: The basic clamshell is able to be used in many different sizes depending on the type of project you are quilting on. Clamshells can be easily dressed up with extra fills or lines. Have fun with variations! Wheee! If you are particularly talented, you can add in the variations as the clamshells are stitched, reducing back tracking. (I am not quite that talented.) Curvy lines going into the clamshell from the side. I didn't care for this one too much. Tear drops from the center top. These center top variations are easier to add as the clamshells are being stitched than some of the other variations. Spiky fan things. Clamshells with swag.... Above, I repeated the clam shell curve upside down before transitioning to a smaller clam shell. I went back and put a dot in the center of each square, essentially making a grid twice as small before I stitched this tiny size. Now here's some longer clamshells with tear drops in between each one. Let's just ignore the foul-up just to the right of center above, shall we? Added additional tear drops and swaggy curves. Clamshells are a wonderful, versatile design, but be careful when choosing their size. I had to go back in and do these variations, not just to show you but also because the plain clamshells weren't as dense as the rest of my quilting on my sampler. I don't stitch clamshells often, so I consulted a great book by Renae Haddadin, Fill'er Up Quilting Designs, to get some ideas on the variations. Great book! Participation in the link party portion of this blog series is way down. I bet a lot of folks are busy with summer time things, but still, if you have a blog and have done some of these grid-based designs or others, go ahead and link up to share your creativity. Some quick rules: Keep your post relevant to this quilt along please. Spammy posts will be deleted. Make sure you link up to the individual post, not your home page as nobody wants to have to search around for the post if they're a little late to the party. Reciprocate! Link back to this post somewhere in your post or use the clickable blog button in your sidebar. You've got to dance with the one who took you to the party, so make sure you link back. Don't be a wall-flower. (Talking to myself here too. In person I am so stinking shy!) Visit the other links, be sociable, and leave comments. Please make sure you leave me a way to contact you if you are a no-reply commenter, especially if you ask a question. Don't forget to bookmark this blog, follow, or sign it up in your favorite feed reader. Like the facebook page (I do post some short things on it pretty regularly), or even check out my Pinterest boards. I'll be visiting you too! Next week the design of the month is feathers!

I hate to pick favs but this one is my Favorite of the Trio. Thread - Iris Mint Batting - Hobbs 80/20 Tools - A ton of templates w...

Since I have begun hand quilting my first WIP finish for 2015, I thought it would be appropriate to post some vintage quilting designs. These were published in late 1930s newspapers by Florence LaGanke, using the Nancy Page pseudonym. Unlike the Nancy Page series quilts which were free patterns appe

The week has flown and I have been sick most of it. I was teaching free motion quilting and applique to beginner groups in Toulouse and I l...

Free motion quilting sampler block using quilt as you go technique. How to quilt flying geese block.

Приветствую всех, друзья мои! Сегодня я опять про стежку "перья". Просто влюбилась в этот рисунок стежки!

Free motion quilting sampler block using quilt as you go technique. Post series include tutorials on how to free motion quilt and assembling quilt as you go
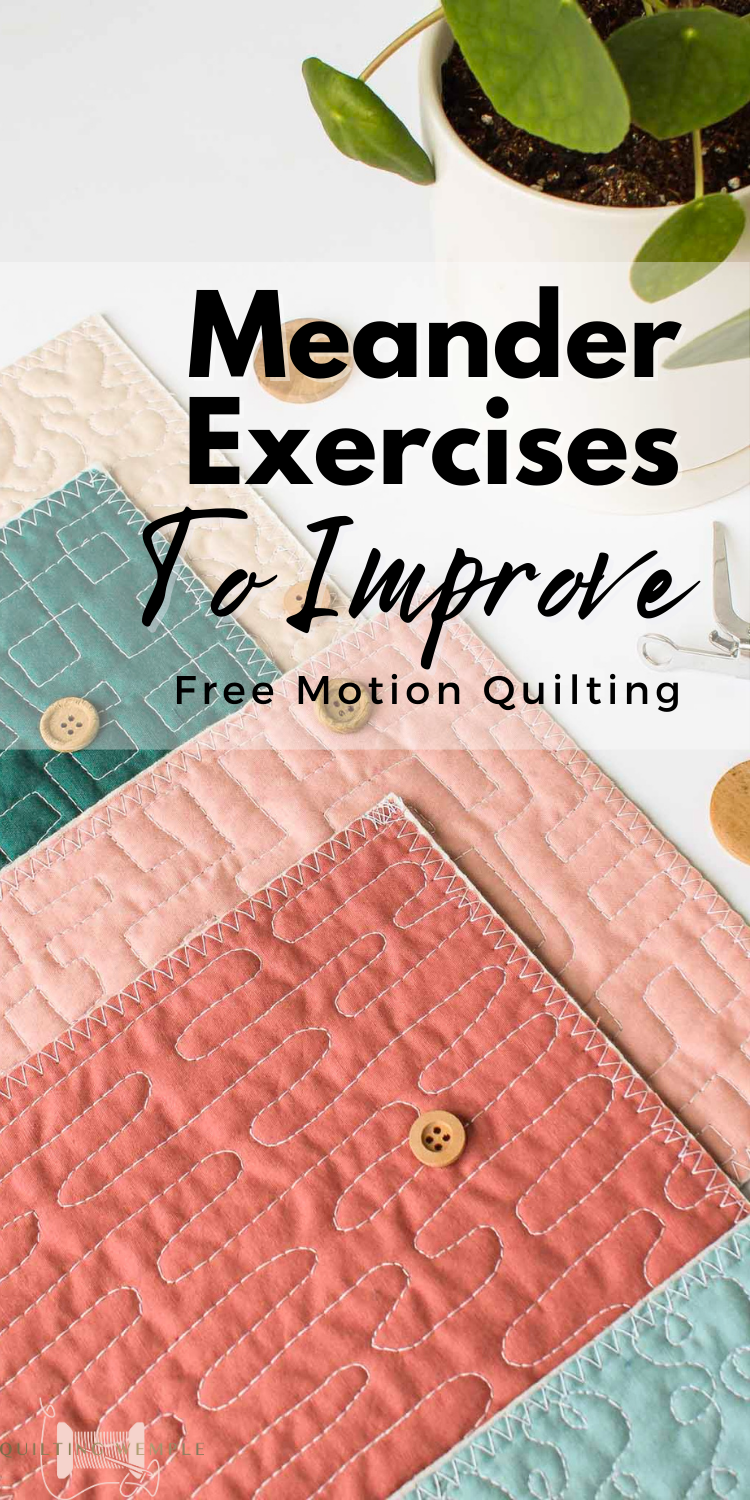
Continue reading for 5 meander practice exercises that will help you learn to put FMQ skills on autopilot so you can focus more on quilting.

It’s late Friday night, but I didn’t want the day to slip by without sharing a new quilting design this...

Welcome to Quiltmaker’s Year of Machine Quilting. We’d like to be your go-to source for learning to quilt on a domestic sewing machine. You can do it! On this page are links to designs, how-tos and many other
